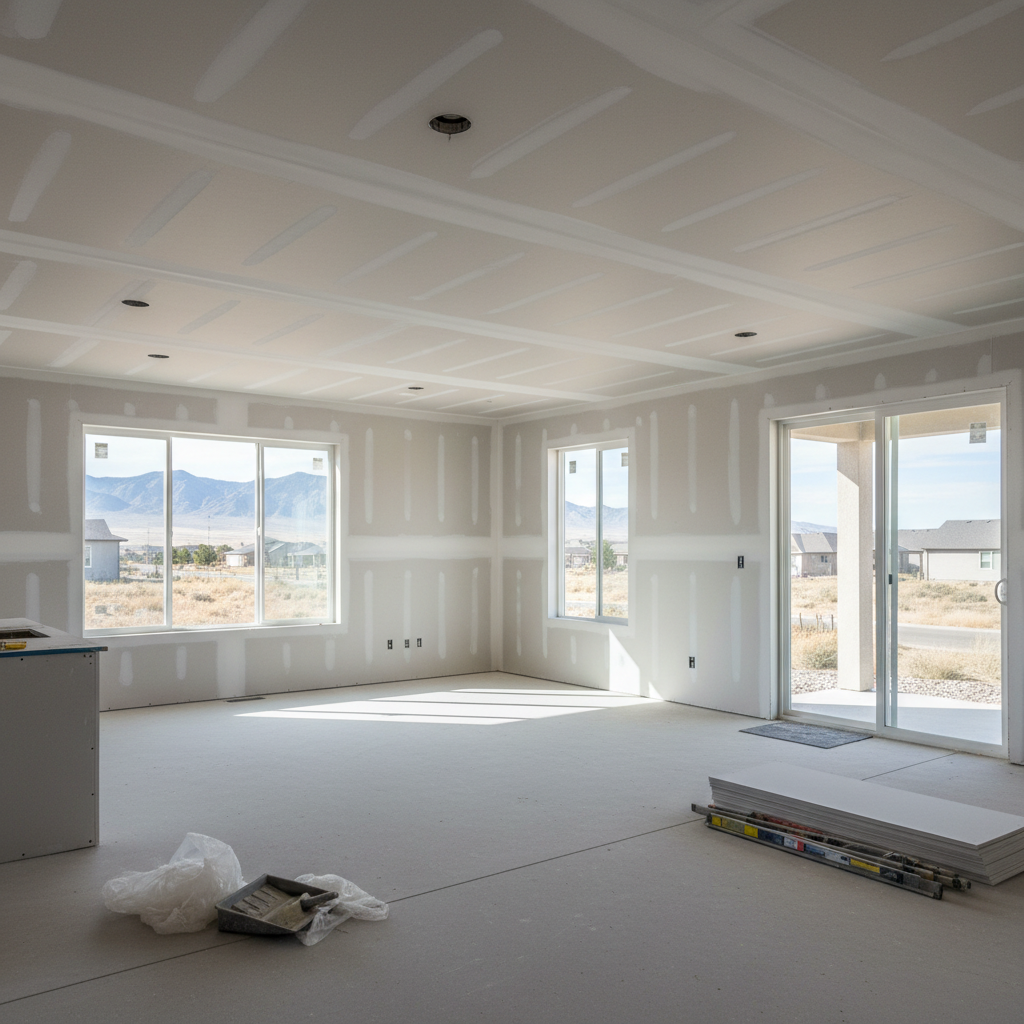
Thinking About a Drywall Hanging Project?
So, you're eyeing a big drywall hanging project for your West Jordan place. Maybe it's a brand-new addition, finishing off the basement, or a major overhaul. Whatever the reason, getting that drywall just right? That's absolutely key. It's basically the blank canvas for your whole interior, and a shoddy job, well, it really sticks out. I've seen it all in my years working on homes from Copper Hills right over to the Jordan Narrows area, and I can tell you this much: good planning makes a world of difference.
You're probably thinking, "What's actually involved here? How long will this even take? And what do I, the homeowner, need to do?" Let's just break it all down so you know what you're getting into.
What's the Timeline Look Like?
A drywall project isn't just one quick step; it's a whole series of stages. Each one needs its own time to cure and dry out properly. You simply can't rush it, especially with our dry Utah climate sometimes making mud dry faster than you'd expect, which can lead to cracking if it's not handled right. Here's a general rundown:
- Delivery & Stacking: Day 1. The drywall sheets show up. This is a pretty big deal, honestly. They're heavy, and we need to stack them carefully, usually inside the house, as close as possible to where they'll be installed. Just make sure there's clear access for us.
- Hanging: This is when those sheets actually go up. Depending on how big your project is, this could take anywhere from a few days to a week or even more if it's a whole basement. It's fast-paced, and yeah, it'll get dusty.
- Taping & First Coat (Bed Coat): Once all the sheets are up, we tape the seams, and then the first layer of mud goes on. We usually do this by hand or with automatic tools. This layer absolutely has to dry completely, which can take 12-24 hours depending on the humidity and temperature.
- Second Coat (Fill Coat): After that first coat is good and dry, we put on a second, thinner layer of mud. More drying time, naturally.
- Third Coat (Finish Coat): This is the final layer of mud, where we feather out the seams so they just disappear. This is where a lot of the skill really shines through. Again, it needs to dry fully.
- Sanding: Once all the mud is dry, it's sanding time. This is, without a doubt, the dustiest part of the whole process. Your home will literally look like a snow globe.
- Cleanup: After the sanding is done, we'll do a thorough cleanup, getting rid of as much drywall dust as we possibly can.
- Priming: While it's not strictly *our* drywall step, priming is super important before painting. It seals the drywall and makes sure you get a nice, even finish. Sometimes we'll handle this, sometimes your painter will.
For an average basement or just a few rooms, you're usually looking at 1-3 weeks from start to finish, and that doesn't even include the painting. Bigger projects, like a whole new build, will obviously take longer.
What to Expect During the Process
Let's be real: drywall work is messy, and it can be pretty disruptive. You'll have people in your home, often starting bright and early. There will be noise from cutting tools, drills, and sanders. And, like I mentioned, dust. A whole lot of it. Even with good dust collection systems and plastic sheeting everywhere, some dust is just going to escape. If you're living in the home while we're renovating, plan to seal off any areas you really want to keep clean, cover up your furniture, and maybe even set up a temporary living space if the work is extensive.
Access is also a big deal. We'll need clear paths for moving materials and tools. Please make sure pets are secured and kids know to stay clear of the work zones. It's a construction site, after all, even if it's inside your house.
How to Prepare Your Home
Getting things ready on your end really makes the whole project go smoother and helps prevent any damage. Here's what I always tell folks:
- Clear the Area: Move all your furniture, decorations, and anything valuable out of the rooms where we'll be working. If you can't move it, cover it really well with plastic sheeting.
- Remove Wall Hangings: Take down any pictures, mirrors, and shelves from walls that are going to be worked on.
- Protect Floors: Lay down drop cloths or heavy-duty plastic on all the flooring in the work area and along any paths our workers will use.
- Secure Pets & Kids: Keep them away from the construction zone. This is for their safety, and it helps our crew stay focused.
- Ensure Access: Make sure there's a clear path from outside to the work area for when we deliver materials.
- HVAC Protection: Turn off your HVAC system on sanding days to stop dust from circulating through your ducts. Cover returns and registers if you can.
- Power & Water: Please make sure we have access to power outlets and a water source.
Questions to Ask Before Signing a Contract
Before you commit to any contractor, you absolutely have to ask the right questions. Don't be shy; a good contractor expects them. Here at Neighborly Drywall Co, we're always happy to answer anything you throw our way.
- What's your experience with projects like mine? You want someone who's done similar work before, not someone who's learning on your dime.
- Are you licensed and insured? This isn't negotiable. Ask for proof of both, seriously. Liability insurance protects *you* if something goes wrong.
- Can you provide references? Talk to past clients. Ask them about their experience with communication, how timely the work was, and the quality.
- What's included in the quote? Does it cover materials, labor, cleanup, and getting rid of debris? Are there any hidden fees? Get a detailed breakdown.
- What's the payment schedule? A reputable contractor won't ask for 100% upfront. Expect a deposit, payments as work progresses, and a final payment once everything's done and you're happy.
- How do you handle changes or unexpected issues? Things can pop up, right? You want to know there's a clear process for dealing with them.
- What's your warranty? Good contractors stand behind their work. Ask about their guarantee on both labor and materials.
- How will you protect my home from dust and damage? Get specific details on their dust control measures and how they'll protect your floors and belongings.
- What's the estimated start and completion date? Get a realistic timeline.
- Who will be the primary point of contact? You need to know exactly who to call if you have questions or concerns.
Taking the time to plan and ask these questions upfront will save you a ton of headaches and really help your drywall project go smoothly. It's a big investment in your home, so make sure you're working with someone you trust to do it right.