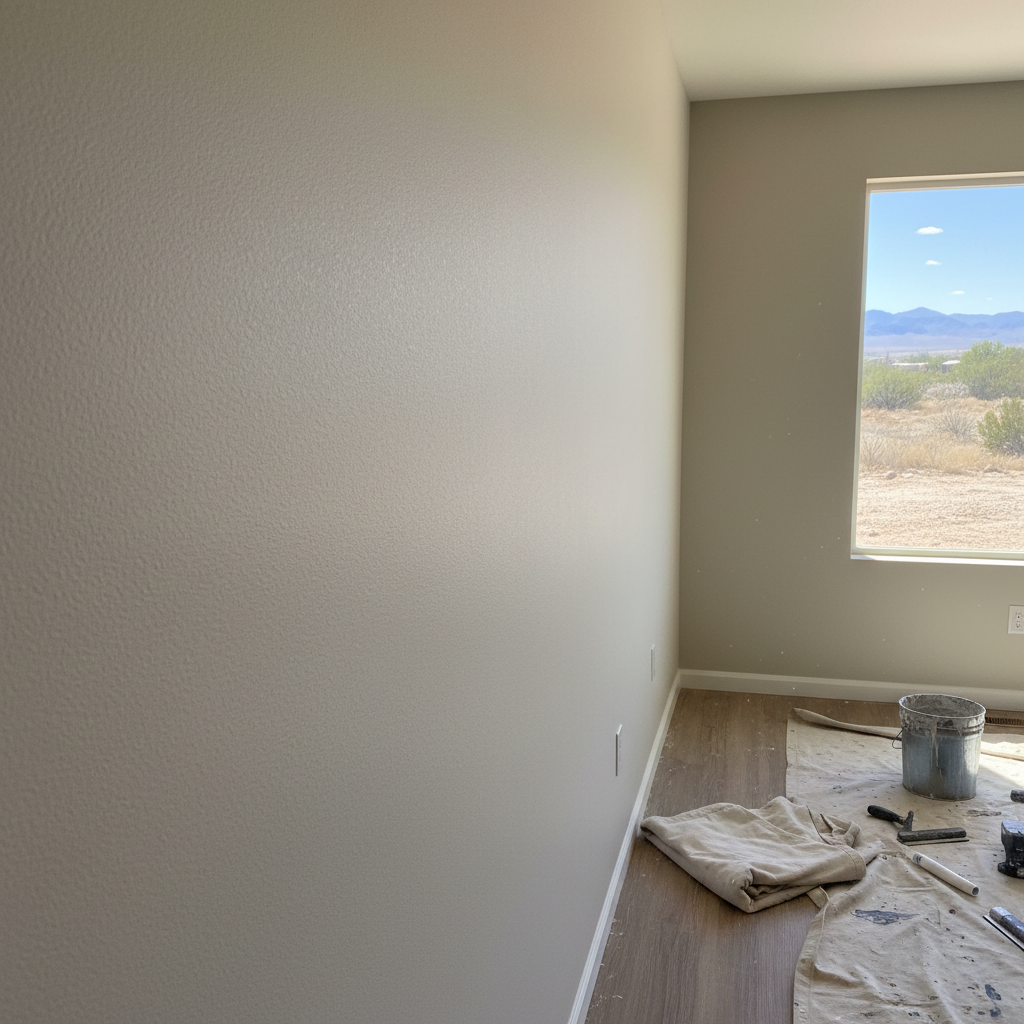
Alright, let's talk drywall. I've been doing this for a long time here in West Jordan, and I've heard just about every question you can imagine when it comes to fixing up walls. You're probably looking at a ding, a hole, or some water damage and wondering what's next. So, I figured I'd put together a quick FAQ with the honest answers to the stuff people ask me most often. No fluff, just what you need to know.
How long does drywall repair *really* take?
This is probably the most common question I get, and the answer, like most things, is, "it depends." A small nail hole? Five minutes of patching and sanding, maybe an hour total if you include drying time for the spackle and then painting. A medium-sized hole, say from a doorknob, or a patch from an electrical repair? You're looking at a few hours, spread over a day or two. That's because you need to cut out the bad section, put in a new piece, tape and mud it, let it dry, sand it, maybe mud it again, let it dry, sand again, and then prime and paint. Each layer of mud needs to dry properly, and you just can't rush that. If it's a bigger section, like a whole sheet or a water-damaged ceiling, that's definitely a multi-day job. Don't let anyone tell you they can do a perfect, seamless repair on a big patch in an hour. They're either lying or they're doing a shoddy job that'll crack later.
Can I just DIY it, or should I call a pro?
Look, I'm a business owner, but I'm also a realist. For tiny stuff – picture holes, small dings – absolutely, you can DIY it. Grab some spackle, a putty knife, and some sandpaper from Lowe's or Home Depot, watch a quick YouTube video, and you'll be fine. For anything bigger than your fist, or if it involves a corner, a seam, or water damage, that's where you should seriously consider calling someone like me. Matching textures, getting a perfectly smooth finish that disappears when painted, dealing with structural issues behind the wall – that takes skill and experience. I've seen plenty of DIY attempts that end up costing more to fix properly than if they'd just called me in the first place. Especially with the varying textures we have around West Jordan, from smooth walls in newer builds to more pronounced orange peel in older homes near Redwood Road, getting that match right is crucial for it to blend in.
What's the deal with water-damaged drywall? Can it be saved?
Short answer: usually not. If drywall gets wet, especially for any length of time, it loses its structural integrity. It sags, it crumbles, and it becomes a breeding ground for mold. You can't just dry it out and paint over it; that's a recipe for health problems and a wall that's going to fail again. The correct approach is to cut out all the affected drywall, usually a foot or so beyond where you see the damage, make sure the underlying structure is dry and mold-free, and then replace it. You also need to fix the source of the water leak, obviously, before you even think about patching. Don't mess around with water damage; it's one of those things where being thorough upfront saves you a huge headache down the road.
Do I need to prime after a repair?
Yes, absolutely, 100% yes. Don't skip priming. When you put new mud or spackle on a wall, it's a different porosity than the surrounding painted surface. If you just paint directly over it, you'll get what's called 'flashing' – the patched area will look duller or shinier, or just generally different from the rest of the wall, even if you use the same paint. Primer creates a uniform surface for your topcoat of paint to stick to, making sure you get an even finish. It's a small extra step that makes a huge difference in how professional your repair looks.
My walls have a texture. Can you match it?
This is where Neighborly Drywall Co really shines. Matching textures is an art form, not just a skill. Most homes around here have some kind of texture – orange peel, knock-down, or even a light skip trowel. A good repair isn't just about making the patch flat; it's about making it disappear into the existing texture. It takes a keen eye and a steady hand to apply new texture that blends seamlessly. It's not something you can usually learn from a quick video. If you've got textured walls, especially if it's an older, less common pattern, you'll definitely want a pro to handle it unless you're okay with a noticeable patch.
How much does drywall repair cost?
Another big one. It's tough to give a flat rate because, as you can probably guess by now, every repair is different. A small patch might be a couple hundred bucks. A larger section of water damage, especially if it involves a ceiling or needs extensive work, could be significantly more. What factors into the cost? The size of the damage, the type of damage (hole vs. water damage vs. structural crack), whether it's on a wall or ceiling, the texture matching required, and how much prep and cleanup is involved. The best way to get an accurate price is to have someone come out and take a look. Most reputable contractors, including Neighborly Drywall Co, will give you a free estimate.
Hopefully, this clears up some of your questions. Don't hesitate to reach out if you've got a repair project you're unsure about. We're here to help.